
People always look out for direct ways to contact you if they need your services or products. Most people all around the globe like using live chat to get instant access to a human. But, live chats aren’t always the option you have. You can also add a Facebook Messenger chat button in WordPress to communicate with your visitors in an effective way.
Facebook Messenger is one of the most popular social networks nowadays. So many people prefer to talk over Facebook Messenger rather than on any other social networking site. There are nearly 3 billion Facebook users around the world and the best thing about it is that you can integrate it with your WordPress site. Similarly, you can also add a Facebook Messenger chat button in WordPress to make it easier for you and your visitors to communicate fluently.
Having that said, let’s now look at how you can easily add a Facebook Messenger chat button in WordPress in just a few simple steps.
Adding a Facebook Messenger Chat Button in WordPress
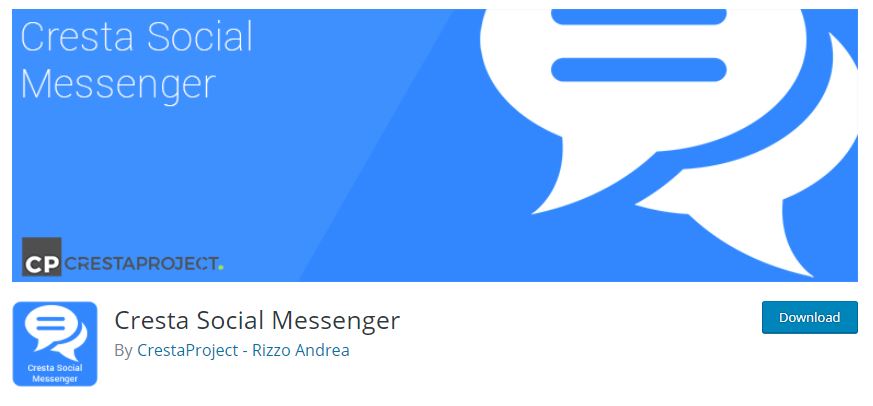
First of all, you need to install and activate the Cresta Social Messenger plugin from the WordPress plugin repository. Cresta Social Messenger is a plugin—a similar integration that is dedicated entirely to Facebook Messenger. It also allows you to turn off the button on certain content types—one of the most helpful features of the plugin.
Upon the activation of Cresta, you need to visit Settings > Cresta Social Messenger from your WordPress dashboard to configure the plugin your way.
The first thing you’ll see here is the General Box Settings block. In the Your Facebook Page ID field, add your FB page ID. Similarly, you can also edit the text on the chat button just below the ‘Facebook Page ID’ button. However, to edit the Title color, Title background, and more, you will have to install the premium version of the Cresta Social Messenger plugin.

Furthermore, you can also choose your icon to display on the button, choose to show FB Messenger button on different devices, and more as well. 
You can now scroll down to the ‘Floating Box’ area. Here you will be able to choose where you want to display the Facebook Messenger chat button on your website. Turn on or off the chat button for certain content types that you want.

Click on the Save Changes button once you’re done with the customization and you’re good to go.
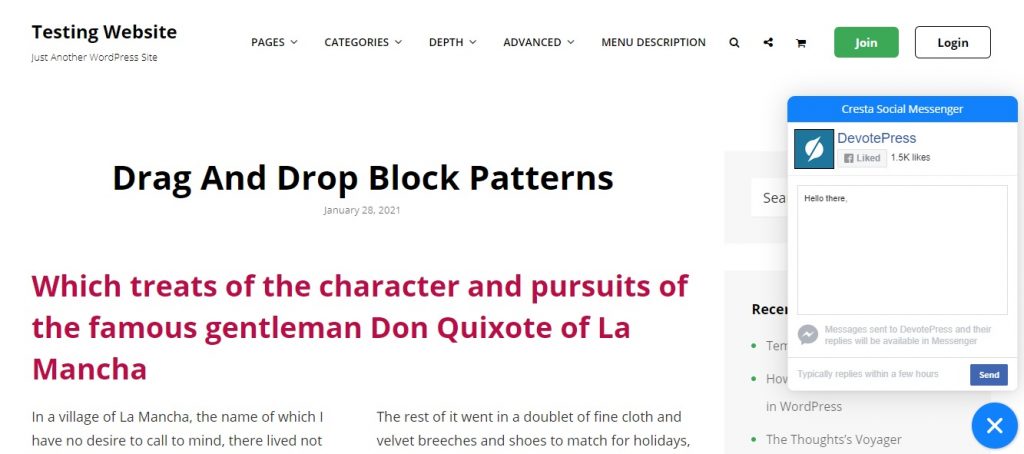
You can now visit your website and see the plugin in action. Adding a Facebook Messenger chat button to every website might not be the best idea but it sure is the best one for certain audiences.
Do you have anything to ask, add or share? Please feel free to use the comments section below. Enjoy adding the Facebook Messenger chat box in WordPress!
Awesome