
Watermark is a faintly visible design, usually a logo, added to an image that are used to identify the image’s owner, rights, etc. With watermarks, you can protect your images from unauthorized use. WordPress enables you to watermark your images so that you can prevent the misuse of your images. In this article, we will show you how to add watermark to your images in WordPress. You’ll be needing plugins for this. Following are two plugins with step-by-step tutorial showing how to add watermark to your images.
Method 1: Use Envira Gallery to Add Watermarks to your Images in WordPress
Hailed as one of the best WordPress gallery plugins, Envira Gallery helps you create amazing and responsive image galleries into your WordPress site.

Envira comes with a watermarking add-on that makes adding watermark atomatically to your WordPress site super easy.
First, you need to get and install Envira Gallery plugin. Then, activate it. For a step-by-step guide on how to install a WordPress plugin, click here.
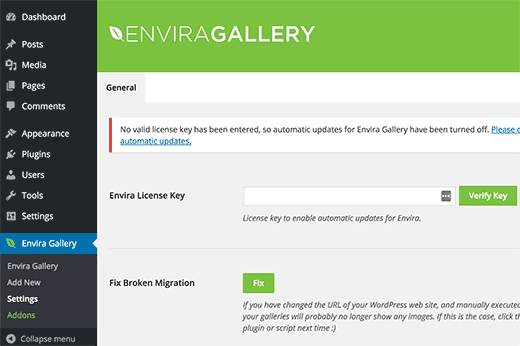
After activation, you’ll need to click on Envira Gallery > Settings from your WordPress dashboard and enter your license key. You can get your license key from your account dashboard while purchasing this plugin from Envira Gallery website.
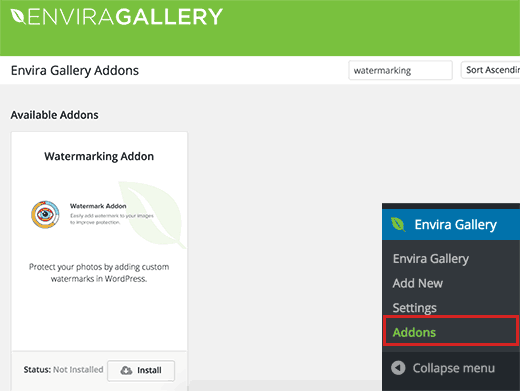
After verifying your license key, head over to Envira Gallery > Add-ons page. Scroll down or search to locate the Watermarking Add-on, and then install and activate it.
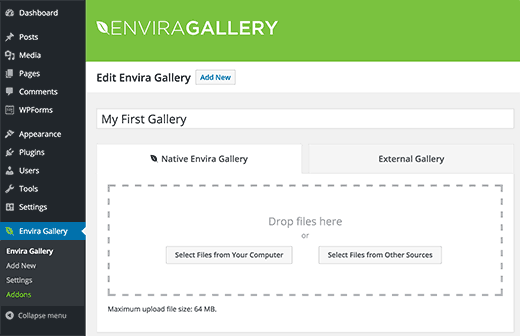
Then, from your WordPress dashboard, go to Envira Gallery > Add New and you’re all set to add your images into mobile-friendly galleries with watermark to a gallery.
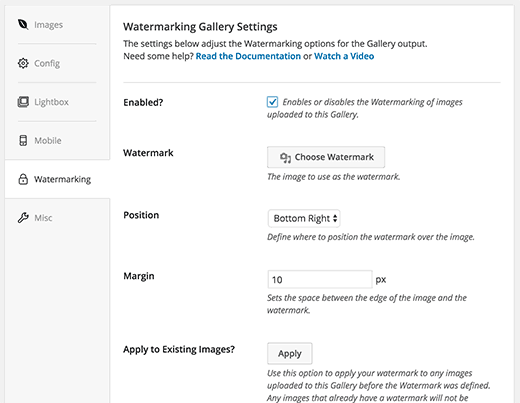
Scroll down further on the page to see the “watermarking” tab where it will show you settings for watermarking. There you can enable or disable the watermarking of images and choose an image to choose as the watermark for your gallery. You can also change he position and margin of the watermark image.
After adding a watermark image, you can now move on to adding images into your created gallery. Scroll up, and then click on Select files from computer or Select files from other sources button.
After you’re done add images to your gallery, you can publish it. You can add this image gallery into any WordPress post or page. Simple, add a new or edit a post or page and then click on the Add Gallery with Elvira’s logo.
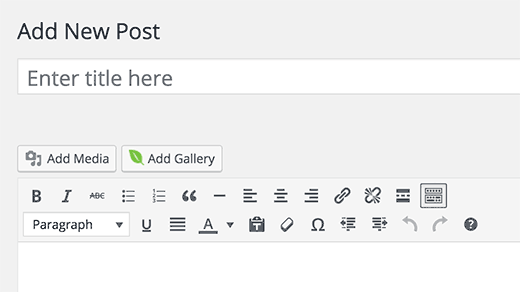
Clicking on the button will bring up a pop-up where you need to select the image gallery you created and then click on the Insert button.
You will notice the Envira Gallery shortcode appear in the post editor. You can now save or publish your post/page.
Go ahead and visit your website to see the watermarked image gallery in action.

Method 2: Add Watermark to your Images in WordPress using Easy Watermark
Easy watermark is a powerful free tool to get the watermark on images that are uploaded to your WordPress media library. This is a light weight plugin which can easily place the watermark of your choice on your jpg, png, gif files. You can fully control the transparency while placing your watermark on .png and .gif images.

You need to install and activate the Easy Watermark plugin. Upon activation, from your WordPress dashboard, go to Settings > Easy Watermark to configure the settings.
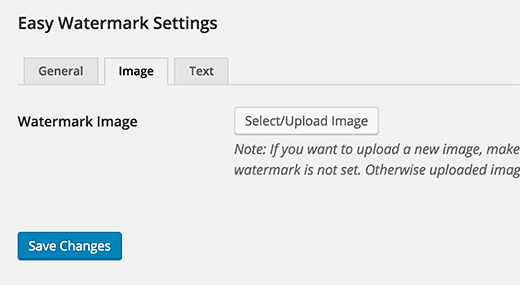
The settings page is divided into 3 tabs: General, Image and Text.

The first tab, General, allows you to automatically add watermark to all image uploads. You can also choose which image file types to auto-watermark and choose which image sizes to add watermark to. You cal also select the type of watermark. This plugin allows you add text, image or both as watermark.
Review rest of the option, set your preferences and click on Save Changes button to save your preferences.
The Image tab allows you to upload the image you want to be as watermark.
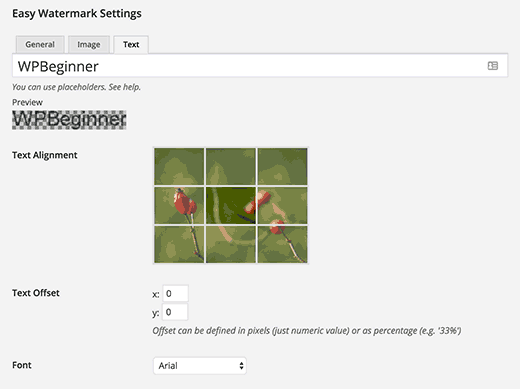
If you selected image+text or just text as your watermark type, you have to click on the Text tab. Here, you can add custom text for the watermark. You can even select font type, its size, watermark alignment, transparency and color.
Click on Save Changes to save your settings. You can now add watermark to images you add to your WordPress site.
Easy Watermark can also help you add watermark to your old images in WordPress.From your dashboard, navigate to Media > Easy Watermark and click on Start button under Bulk Watermark section.
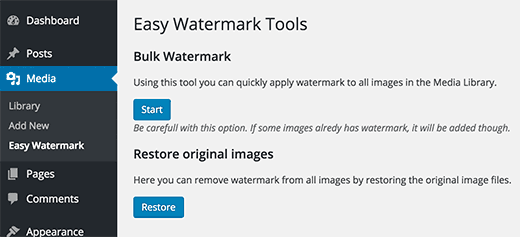
Important: This process is irreversible. So, it is strongly advisable to backup your WordPress site particularly you media uploads directory.
In case you don’t want to automatically add watermark to all uploaded images, Easy Watermark gives you the manual option as well.
For that, go to Settings > Easy Watermark and make sure that the checkbox next to Automatically add watermark to images in unchecked.
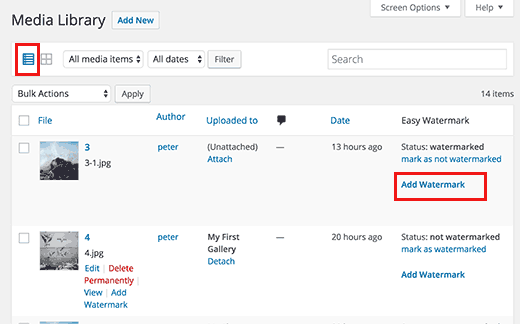
After that you can go to Media > Library. You will need to switch the list view to see the Add Watermark option to each image in the library.
We hope this articles aids you in adding watermark to your images in WordPress. You can read the original article at WPBeginner.