After your WordPress website is ready, you will want to publish content on it. Even though publishing content is not hard, beginners might find it intimidating during their first try. So, we’ve kept step by step tutorial on how to create and publish a new blog post.
1) Logging into your website
First of all, you’ll need to login to your website. We do that by going to www.yourblogname.com/wp-admin. Whatever your blog name is, use /wp-admin at the end.
2) Username and Password
After you perform the above action, you’ll see a screen like in the picture below.
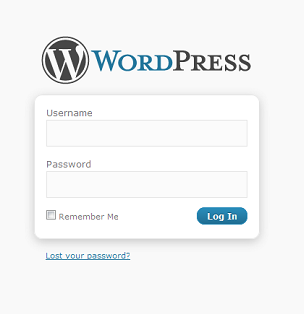
Once there, write your username and password and then click Log In.
3) Add New Post
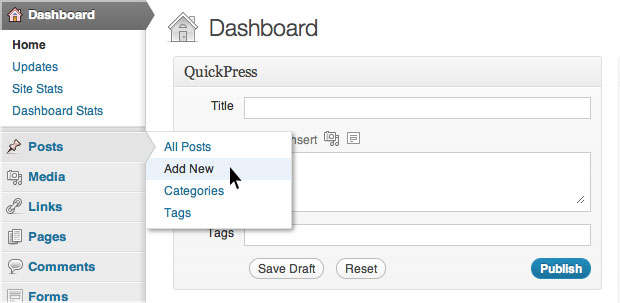
After you write your username and password, you’ll enter the Dashboard of your website.
At the left hand side, go to Posts -> Add New, as shown in the picture below.
4) Writing and Formatting
Now you can write your blog post in the editor. You have various options of formatting like highlighting and making texts bold or italic. Same for adding links, creating lists, and everything else. See the picture below:

5) Inserting Photo
To upload an image, select the ‘Add Media‘ option above your content box. A popup will appear, telling you to drop your media files:
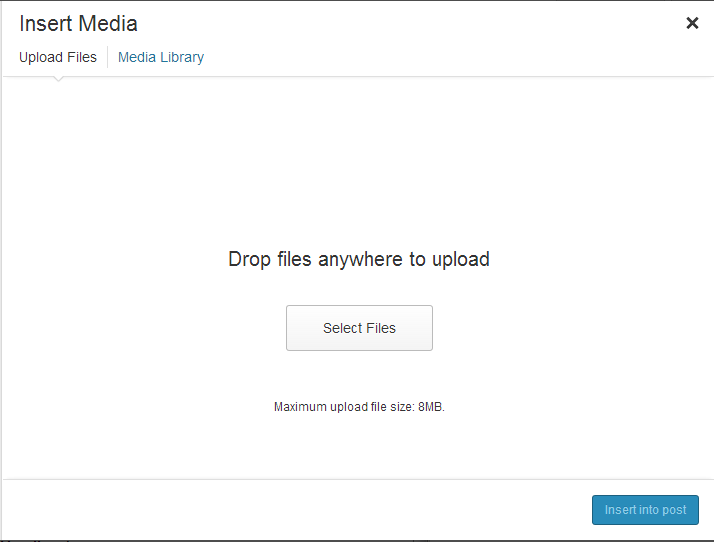 You can either drop down your files, or click on Select Files and then choose from your computers directory.
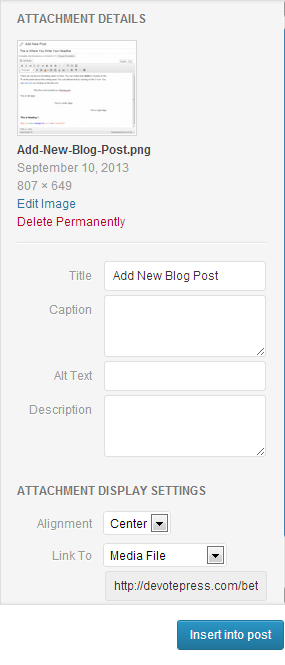
After that you’ll see Attachment Details where you can add title, caption, alt text, description and other elements. You can also align your photo, link it, and change it’s size.
6) Publishing
After you’ve written your blog post, you need to publish it. At the right hand side of the screen you can see a publish button. Click that button and you’re done. Alternately, you can also choose to schedule your blog post.
