
Want to display weather forecast in WordPress? Displaying weather forecast adds an extra charm to your website. It is not a must-have feature, however, a nicely designed weather forecast is always a good thing to go for. With this feature, you can keep your users informed about the weather conditions for specific locations.
Weather Forecast can be a great feature to add to your WordPress website to help add the efficiency and make it more appealing. Restaurants, retreat centers, country clubs, and many other related businesses and organizations can benefit from this kind of feature. Displaying Weather Forecast on your website means you’re making your website a little more informative for your users and it will also somewhat help in increasing traffic to your website.
So, without any further ado, let’s get into the tutorial and learn how we can easily display weather forecast in WordPress.
Display Weather Forecast in WordPress Using a Plugin
The first thing you need to do is install and activate the WP Cloudy plugin. It is a flexible weather plugin, which is available for free in the WordPress Plugin Directory. It is extremely easy to use and allows you to create unlimited weather reports of different kinds.
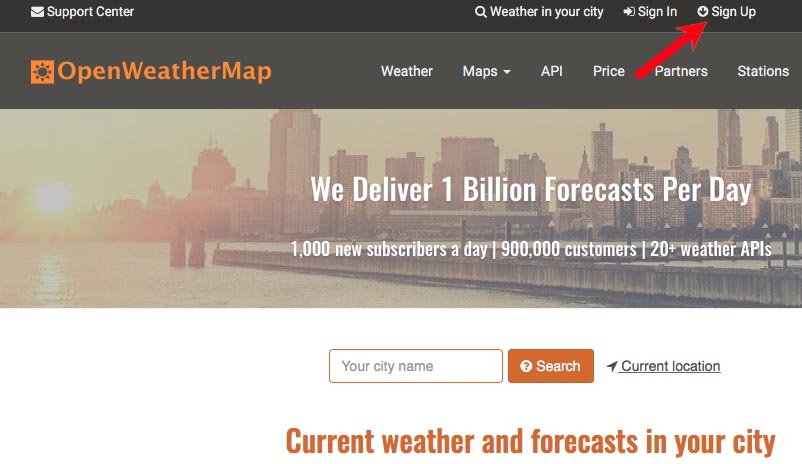
It is recommended to create an OpenWeatherMap API key to avoid the timeouts. And for that, you need to head over to OpenWeatherMap and sign up.
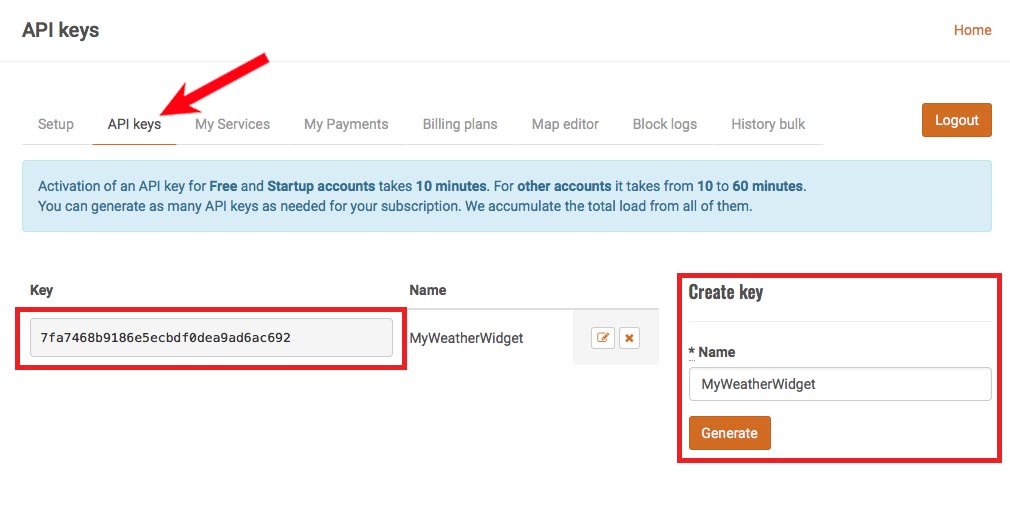
After you’ve signed up, you can visit your profile page and click on the API keys tab. You will be asked to provide a name for your keys. Then, simply click on the Generate button. You need to copy the API key that you’re provided with.
Now, visit your dashboard and go to Settings > WP Cloudy page.

You need to scroll down to “Open Weather Map API key” field and paste the API key that you copied earlier. Click on the Save changes to store your settings.

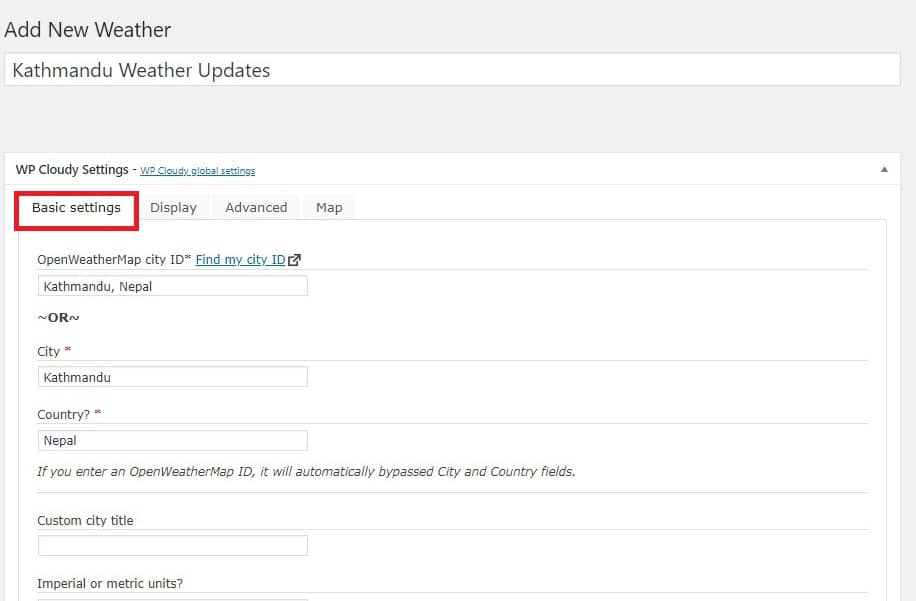
Now, to create your weather report, visit Weather > New Weather page.

This is where you can customize your weather report. In the Basic Settings option, you need to enter the name of the city, state, and country information. The city and country are the most crucial fields to fill up here.
Next one is the Display option. Here, you’re provided with several displaying option; you can choose what features you want to display on your weather report. The most important field here is the Hourly Forecast field. Here you’ll have to make sure that you have properly set the date of your site in WordPress settings.

Another option is the Advanced option. You can choose the background color, text color and border color in this option. You also have the option to disable CSS3 animations and choose the Weather size.

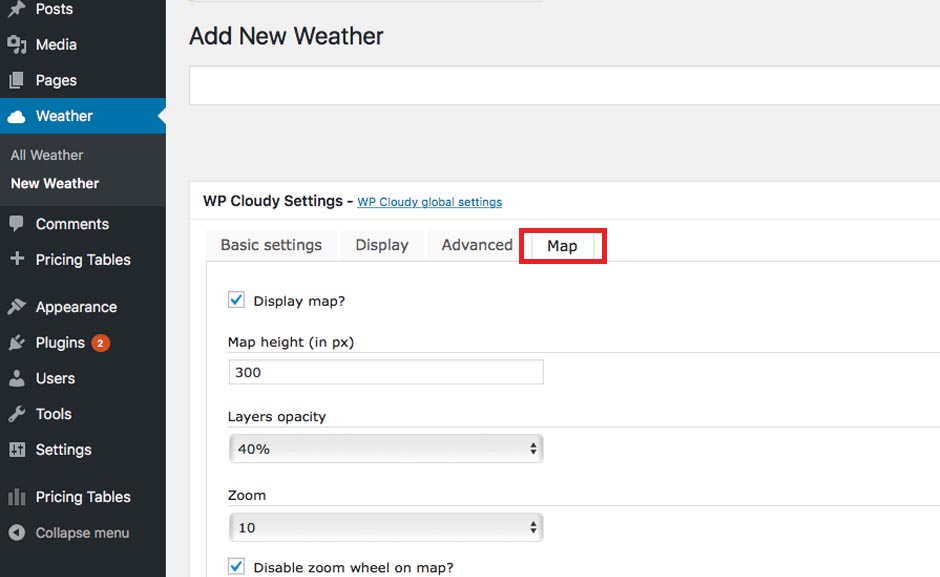
And the last option you have is the Map option. You can choose to display the map, map height, layers opacity, and more in this option.
After you’re done with the settings, click on the Update button and copy the shortcode available in the tiny meta box on the right side of your dashboard. Or, you can just copy the id number of the weather report.

You can paste the shortcode in any of your posts or pages. For this tutorial, we are going to create a new page and name it “Today’s Weather Update” and display our weather report there.

Or, on the visual editor screen, you’ll be able to see a tiny WP Cloudy icon.

Click the icon and a popup will appear, asking you to enter the id of the weather report. Enter the id and click the Ok button. Then, you’ll have the shortcode pasted on your visual editor.

Finally, click on the Publish button. You can now visit your website and check out the weather report you just created.

We hope this article helped you to display weather forecast on your website. If you have anything to ask, feel free to use the comments section below.
Thank you for this nice and quick tutorial. I’ve also found another easy way to display weather – using WordPress weather templates. I’ve bought one here and regret nothing:
https://www.templatemonster.com/category/weather-wordpress-themes/