
Published Date: November 15, 2013
Updated Date: January 25, 2021
Are you a WordPress beginner and want to learn how to set featured images for your posts and pages? Today, we will provide you a step-by-step guide to help you assign a featured image in WordPress.
Featured Images are the primary images for your blog posts and different pages. Featured Image, also known as post thumbnail. It allows you to upload or select an associated image for the article. They add extra charm to your already-amazing articles. It usually appears on the homepage while scrolling through the list of blog posts. The display position depends on settings defined by your theme developer. Also, adding a featured image to an article gives more information to the reader before even starting the article. Moreover, in many cases, featured images impact the reader’s mind before the heading itself; featured images play a vital role in providing information on the respective articles. That is why it is essential that you remember to add featured images to your posts and make them more exciting and informative.
With that being said, here’s the quick step-by-step tutorial on how to assign a Featured Image in WordPress.
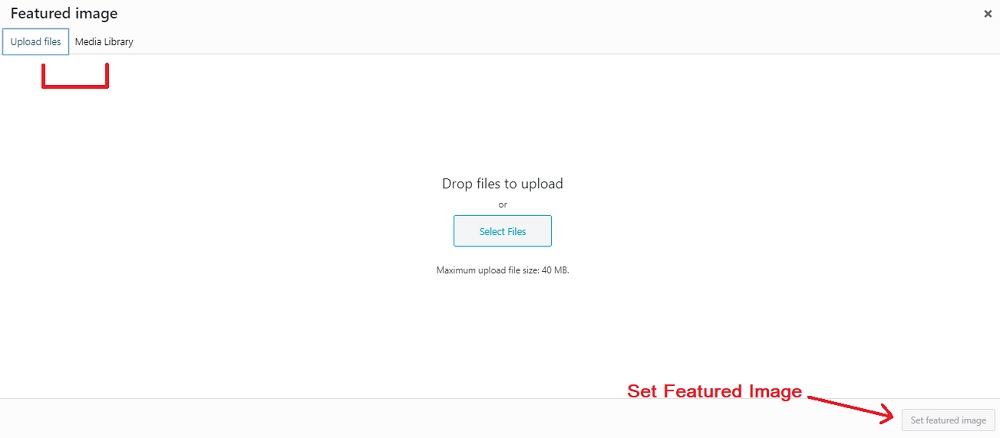
Step One: Search and Click on Set Featured Image under the Featured Image tab. It’s located on the bottom-right side of the editor.

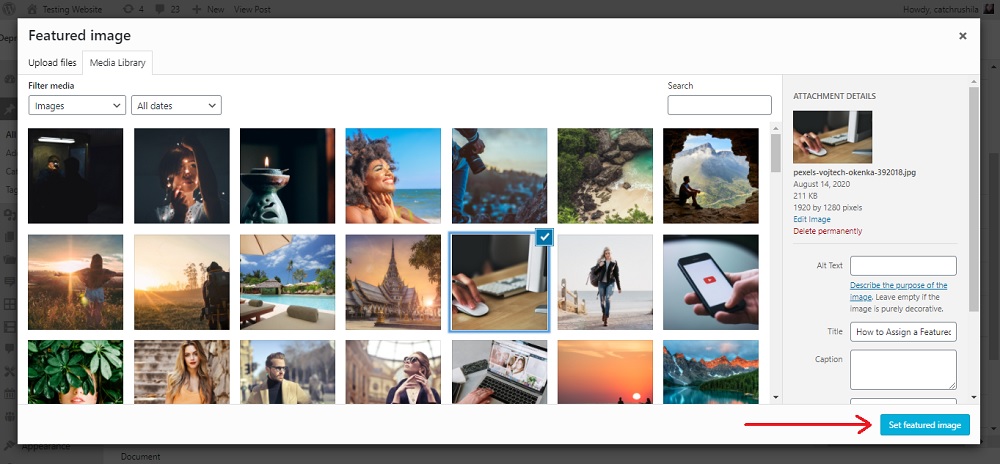
Step Two: Now you can either select an image from the Library or you can Upload a new image that you want to set as your Featured Image for the post.
Step Three: After uploading or selecting your desired image, click on Set as Featured Image. Also, you can add Caption and Alt Text while uploading the image. It adds more information to your featured image.
Step Four: Mission Successful! You have now successfully added the featured image for your post. However, if you want to remove or replace your current featured image, you can also remove it by simply clicking on the “Remove Featured Image” button just below the featured image. Or, you can click on the Relace Image button if you want to upload another featured image instead.

Finally, you can now Publish the post/page and view the Featured Image set by you. Sometimes, some errors can cause your featured image to either break or not update as well. In this case, we suggest you clear your cache and upload a fresh featured image after renaming it.
Happy WordPressing!