WordPress is a Content Management System used by a huge number of people and companies for personal as well as professional websites. According to W3Techs, a web technology survey firm, WordPress currently powers more than 42% of websites. WordPress-powered websites are primarily public but can be privatized if need be. Do you happen to be among those who wish to make your WordPress website completely private or maybe want to privatize it for a limited time span? If so, we have for you a quick and easy tutorial on how to make your WordPress website completely private.
Private websites are not uncommon and can be used for a variety of purposes. Some of them being:
- An online personal diary or journal.
- To share ideas among team members that are working on a distinctteam project.
- Share family events among members of an extended family.
- Share materials and ideas among students of a class, i.e. classroom websites.
- To hide a new website for a specific time span that is not yet ready for the public eye.
How to make your WordPress website completely private
In order to make your WordPress website completely private, you will need My Private Site plugin. First, install and activate the free plugin available in the WordPress Plugin Directory.
After you activate the plugin, go to Dashboard → Private Site. It is on this page that you will configure the settings. Among the various available tab, click on the Site Privacy (second tab). After activating the plugin, by default, the Private Site feature is set on. If you don’t want to privatize your site right away, check on the “Enable Login Privacy”. Save your changes and your site will be public instantly.
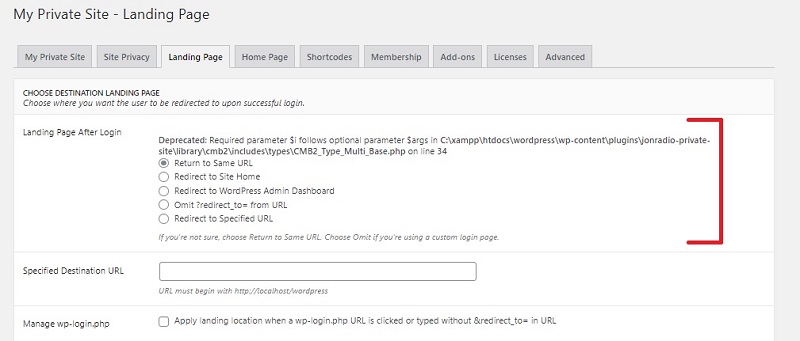
Now, to choose which page users will see when they log in, go to the Landing Page tab. By default, the users will return to the same URL they requested before login by the plugin. You can choose to redirect users to the homepage, WordPress admin dashboard, or any other specified URL on your WordPress site.
If you are using a static front page and want users to see it, then you can exclude it. You can allow the home page to remain accessible to the public without needing a login. Enable the check box on the Home Page tab.
You can also display a custom login page with a custom login URL. Head over to the Advanced tab to enable custom login page. Also, you can add public password reset page URL as well.
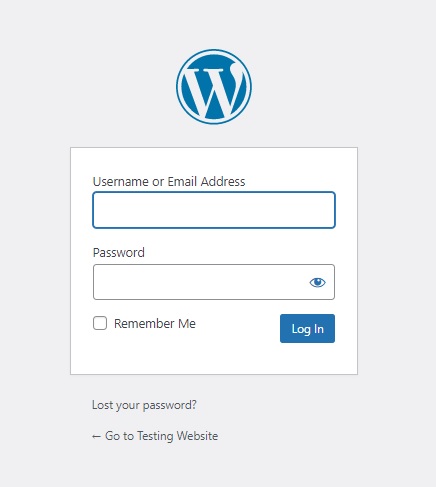
Finally, click on the Save Changes button to save all your changes. That is all you need to do to make your WordPress website completely private. Any person trying to view your website will be redirected to the login page. Alternatively, if you have an exclusion list of pages you want others to see, they will be visible. Here, I have not allowed Homepage access to public. As a result, it displays a login page while trying to access my site.
We hope this post helps you to make your WordPress website completely private. If you have anything to share, add, or ask, please write us your thoughts in the comments. Happy pressing words!


