Do you want to translate a WordPress Plugin in your language? Many WordPress plugins are fully translation ready and can be easily translated by anyone. If you are wondering how you can translate a WordPress plugin in your language, you might want to stick with this article.
WordPress itself is available in many languages and can be translated into other languages as well. You can even create a multilingual website using plugins. Most top WordPress plugins are already translation ready.
With that being said, today, here at DevotePress, we will be learning the easiest ways to translate a WordPress plugin in your language. So let’s begin.
Translate a WordPress Plugin in Your Language
This method not only helps you to use the plugin in your language but also helps other users automatically use the plugin in their language. WordPress.org hosts a web-based translation tool that allows anyone to contribute translations for WordPress plugins hosted on WordPress.org.
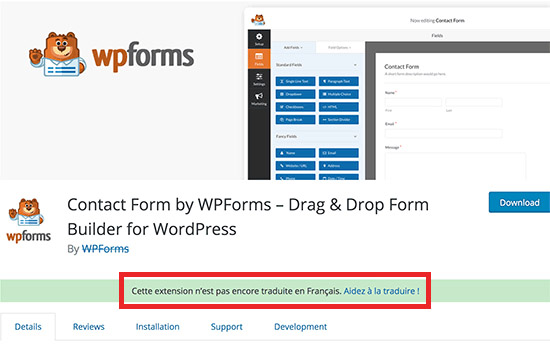
When you visit a plugin page, you will see a notification asking for your help in translating the WordPress plugin in your language.
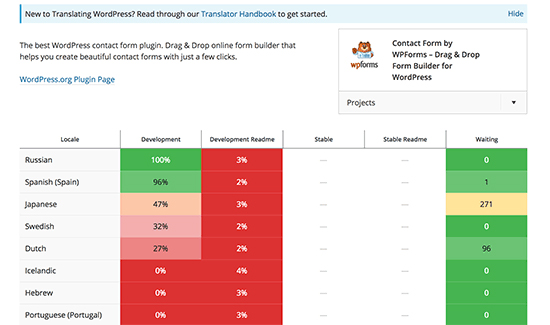
If you do not see the notice, then you can search the Translating WordPress website for the plugin. After the process, you will be asked to select your language, then you can start contributing.
On the translation screen, you will observe a simple user interface with source text and a text area to provide translation for specific words.
Translate a WordPress Plugin for Your Website
This method lets you translate a WordPress plugin for your own website. Inside your WordPress admin area, you can translate the plugin and it will straightway take effect on your website.
The very first thing you need to do is install and activate the Loco Translate plugin from the WordPress Plugin Directory.
After you’ve activated the plugin, head over to Settings > Loco Translate page to configure the plugin settings.
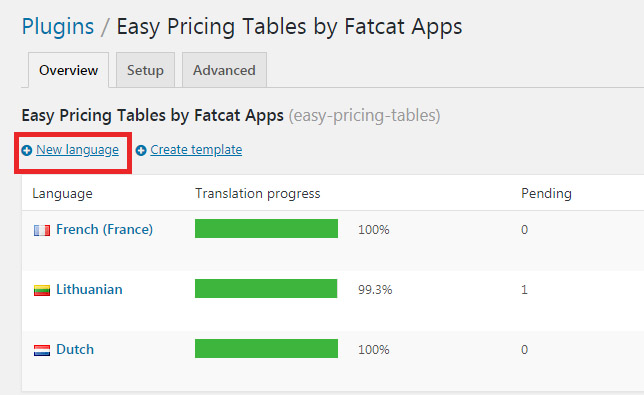
You will now see a list of all the plugins currently installed on your website. Then, select the plugin you want to translate. On the screen, you will see a list of languages available for the plugin along with the translation process status for each language.
You can click on the “New language” button if the language you want to translate is not listed there.
On the New language page, firstly, choose the language. Two options will be made available to you. The first option is WordPress language. This option will automatically start using the language file if a user sets the WordPress admin area to be in the language. The second option is to use a Custom language.
Next, choose where you want to store the translation files. Loco Translate will recommend saving the translation file in its own folder. You can now change that to save translation files in WordPress languages or plugin’s own languages folder.
Once configured, click on the Start translating button to continue. You will then see the source text and below it you will see the translation field.
Enter your translation for the source string and select the next string to translate. Click on the Save button to store your progress.
And that is it. We hope this article helped you translate a WordPress plugin in your language. Have anything to share or ask? Let us know in the comments section below.
Reference: WP Beginner


