
Winter has arrived and so has the holiday season. You’ve surely seen many websites with falling snowflakes. The trend of adding changes in design and appearance according to seasons isn’t new. Similarly, during winter, most websites add snowflakes. Today, we’ll show you how you can add falling snowflakes to your website.
Although it is not a very big change, it is still different and makes your blog look much more fun. And you can add that element to your blog with only one minor change. If you want to add falling snowflakes to your website, firstly, install the WP Super Snow Plugin. You might want to check out our step-by-step guide on how to install plugins.
After you install WP Super Snow, activate it. You’ll find a “Super Snow” item in your Dashboard Admin Bar. Select on it and you’ll find yourself in the plugin’s settings page.
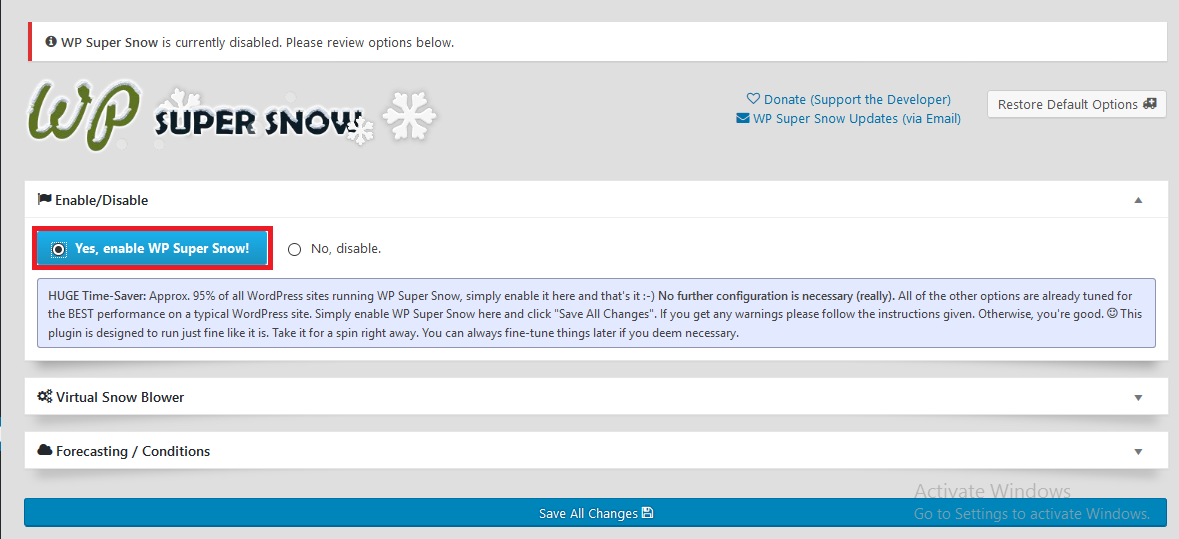
Click on Yes, enable WP Super Snow! button. The one highlighted with the red box in the above picture. Then click on Save All Changes to enable the plugin.
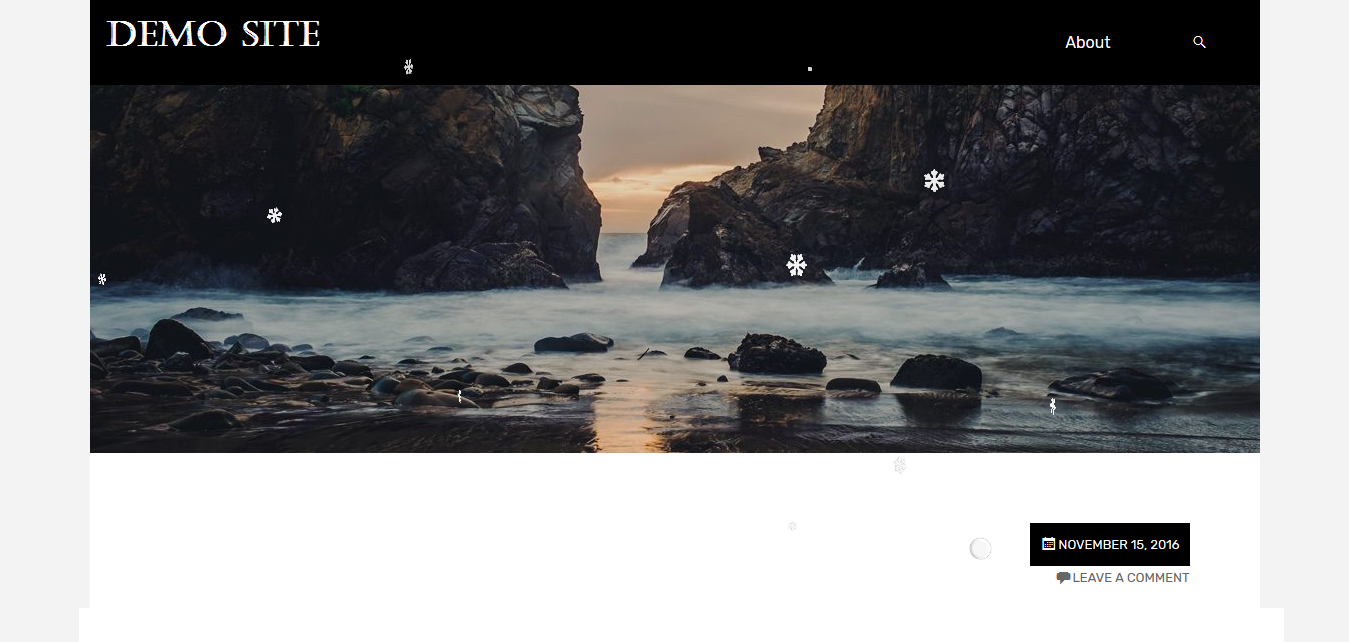
Now, you can visit your website and Voila! The snowflakes are falling through the screen and making your website look all wintery and Christmassy.
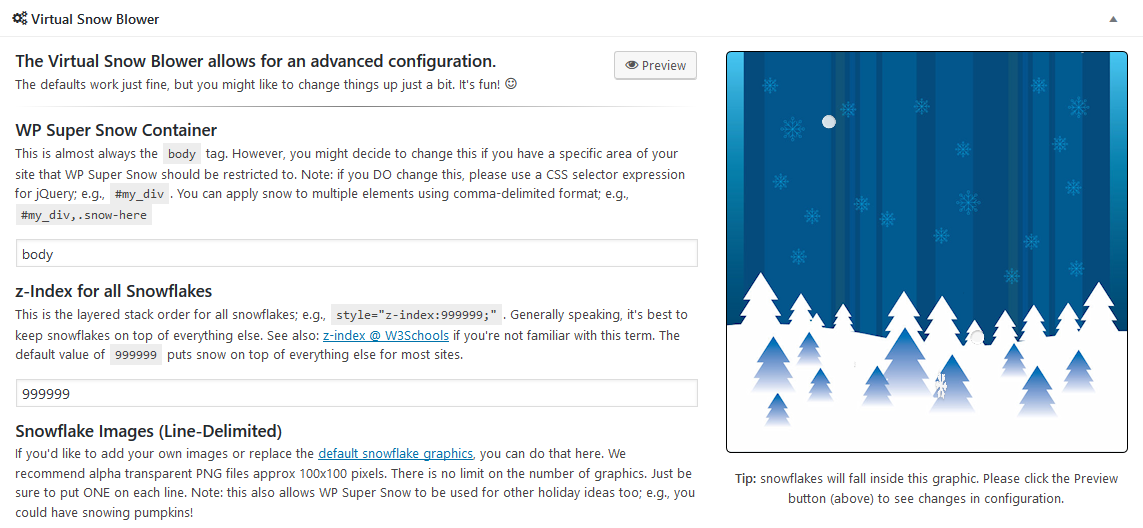
Moreover, if you aren’t satisfied with the default settings and want to change anything, you can click on the Virtual Snow Blower tab. It allows you to change the snowfall direction and you can also upload your own images to be used for snowfall as snowflakes. You can also choose to whether keep the snowfall on top or not.
We hope this article helped you to learn how you can add falling snowflakes to your website. The falling snowflakes add a nice dimension of winter fun to your website. Now you can go on to make your website reflect the season.
If you have anything to share, please feel free to write it in the comments below.