Maps can be a handy tool for your WordPress website. Websites dedicated to traveling, companies with local and worldwide representatives, cafes and restaurants, fitness clubs and other categories of websites need to add an interactive map on their website. If you want to grow your business, then, adding an interactive map will for sure help you. Interactive maps allow your users to discover routes, journeys, and itineraries by clicking on markers in the map or moving the mouse around. It is really important for your customers to know where you’re located at. So, today, we will be learning how to add an interactive map in WordPress.
Add an Interactive Map in WordPress
For this tutorial, we will be using Google My Maps. This is a very simple method and can be used by everyone (including the beginners).
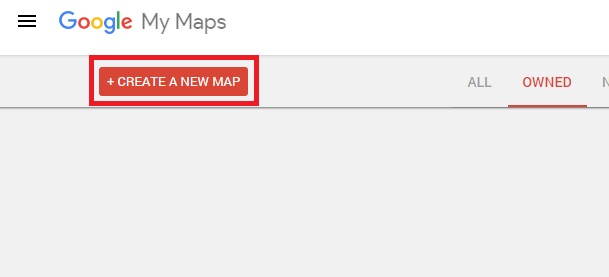
First of all, visit the Google My Maps website and click the ‘Create a New Map’ button to create an interactive map.
An edit map page will appear where you can create your map by selecting a base map, adding points of interest, layers and more. With the toolbar at the top of the page, you’ll be able to draw lines on the map, add routes, use rulers, and select items as well.
On the left side of the page is the layers box. This is where all you map items will be saved in layers. You can add, edit, rename, or also delete layers. You can add a description, change the title or add images or videos to any item in your layer.
After you’ve finished editing your map, you can click on the ‘Share’ button to make it public so that you can use it on your website.
This will bring up a sharing center popup where you’ll have to click “Change” under “Who has access” section.
Now, you need to select “On – Public on the web” option and click the Save button.
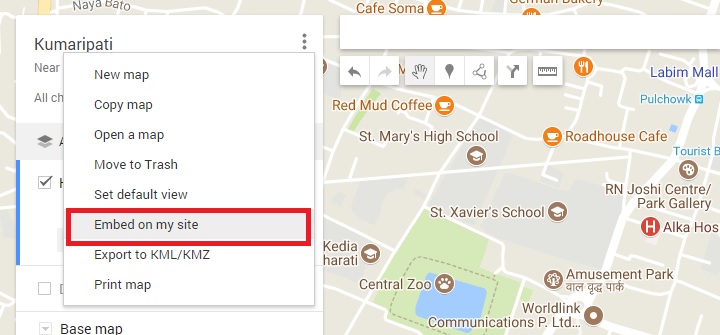
Click on the “Done” button to close the sharing center popup. Then, click on the “Embed on my site” on the edit panel.
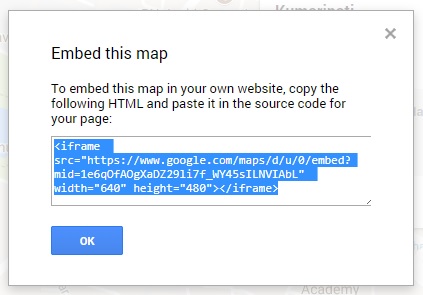
Copy the embedded code that you’re provided with.
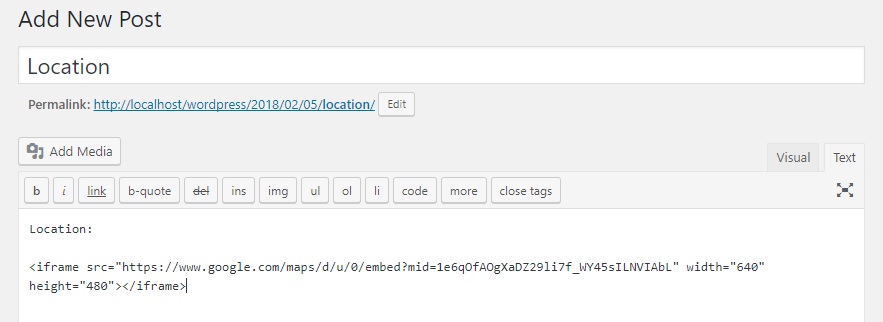
You can now head over to the post or page where you want to add you the interactive map. In this tutorial, I am going to paste the embed code in a post from WordPress dashboard. For this, on the post editor, switch to the text editor and paste the code you copied earlier.
Next, save your changes and don’t forget to check out the preview before publishing it.
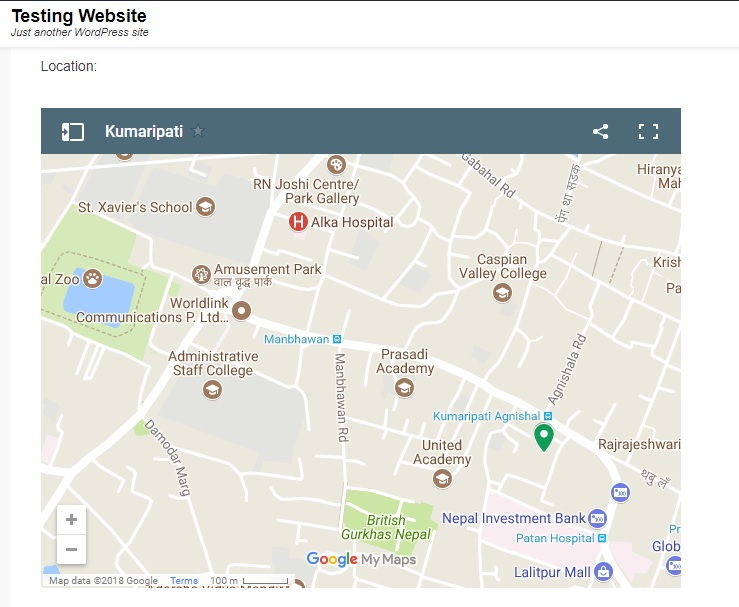
And there you go. You’ve successfully added an interactive map in WordPress and that too, without any complications.
We hope this tutorial was helpful for those who are trying to add an interactive map on their WordPress website.
Reference: WP Beginner


