Do you want to create your ULTIMATE BLOGGING CHECKLIST for better content? This article will help! Today, we’re listing out the vital things you must include in your ultimate blogging checklist.
Almost all of the professional bloggers have their own blogging checklist that they use before finally hitting that Publish button. You can create your own blogging checklist in WordPress, you just need to make sure your ultimate blogging checklist contains all the pieces that are required in order to engage your readers, increase your social shares and conversions.
Here at DevotePress, to help you create your own ultimate blogging checklist in WordPress, we have compiled a list of things that you must include in your blog posts. Following this ultimate blogging checklist will surely attract more readers to your website. So, let’s dive into our article.
The Ultimate Blogging Checklist in WordPress
Here are a few things you need to include in your blog posts in order to make them more engaging and attractive.
A Compelling Title

First things first, a compelling title is the first thing you need to include on your ultimate blogging checklist. If you have a convincing title for your blog post, then chances are that your blog post will be read and shared by many. People usually ignore a book with a bad cover, and just like that, they ignore blog posts with bad and boring titles. So, before you publish your articles, make sure your headline is catchy and striking.
SEO Title Under 60 Characters
The second thing you need to take care of is the SEO title of your blog posts. Your blog post title and SEO title are usually the same, however, you need to make sure that your SEO title is less than 60 characters long. If your SEO title is more than 60 characters, Google will cut off your title and it will look incomplete, something like this:
Well, if you don’t want your article to show up vague like that, then the best thing you should do is to keep your SEO title within 60 characters.
Meta Description
Another major aspect of your ultimate blogging checklist that you have to include is the Meta Description. A meta description is a short description that search engines and social networks display just below your post title. If you don’t include your meta description, then search engines will simply grab the first few sentences and cut it off which doesn’t really look good.
That is why you need to write a custom meta description that is under 160 characters long.
Check your Focus Keyword

Whenever you are writing an article, it should always have a central theme, also known as the focus keyword. Your focus keyword should be included in all aspects of your article—the title, SEO title, Meta Description, Post Content, URL, and just everywhere possible.
You can manually read your article, use Ctrl + F to find how many times you’ve mentioned the focus keyword, or you could also use the Yoast SEO plugin which will automatically tell you all of this.
Add Related Keyword Variations
Beginners often make the mistake of keyword stuffing in their articles. You should not do that. Instead, write in the natural language and make sure that you add related keyword variations in your article. To do this, first Google your main keyword, scroll down, and look at the related searches. This will help you add more related keyword variations. This is one of the things most bloggers include in their ultimate blogging checklist.
Interlink Your Articles

Interlinking your articles is great for SEO because it helps with increasing page views and reducing bounce rates. Try to interlink your one or more previous articles in every new post you write. It could be a bit difficult at first but becomes easier once you write more content on your site and know the tactics of interlinking your articles.
Open External Links in a New Window

Not only the internal links, but you should also include some external links in your articles. Having external links will be very helpful for your users to learn more about the topic. However, if that comes at an expense of the user leaving your site by clicking on that link, now that is bad. To prevent that from happening, you need to open all external links in a new window. This will reduce the bounce rate from your own website to external resources.
Add Proper Image Credits and Sources
When it comes to the image credit and sources thing, most bloggers usually don’t care about including them in their articles. But, that will only be a way to regret it later.

You should always add proper credits and sources for your images in your blog posts. And if you keep forgetting about providing image credits then you should pick your images from sources that provide images for free. For that, check out our previous articles on Royalty-Free Images: 5 Best Websites to Get Free Stock Images for your Blog and Sources to Find Royalty-Free Images for Your WordPress Blog Posts.
Check Post Thumbnail for Proper Social Media Dimensions
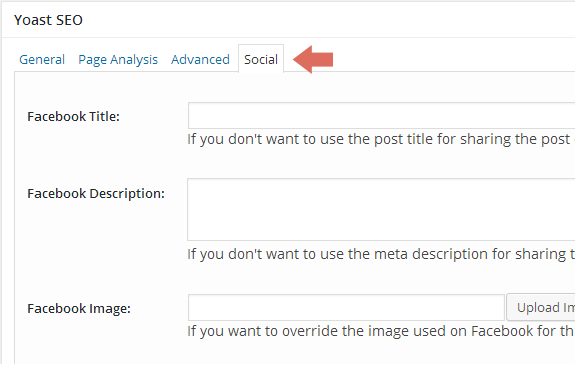
You need to first ensure that your post has a thumbnail. Then, make sure that it is the right dimension for Facebook, Google+, Twitter Cards, etc. Since every network has different image sizes, if you’re over 500 x 300 pixels, you’re good to go.
If your theme has a smaller thumbnail size, then you can upload a separate thumbnail image for Facebook, Twitter, etc. by using the Yoast SEO plugin’s social setting.
Add Categories and Tags

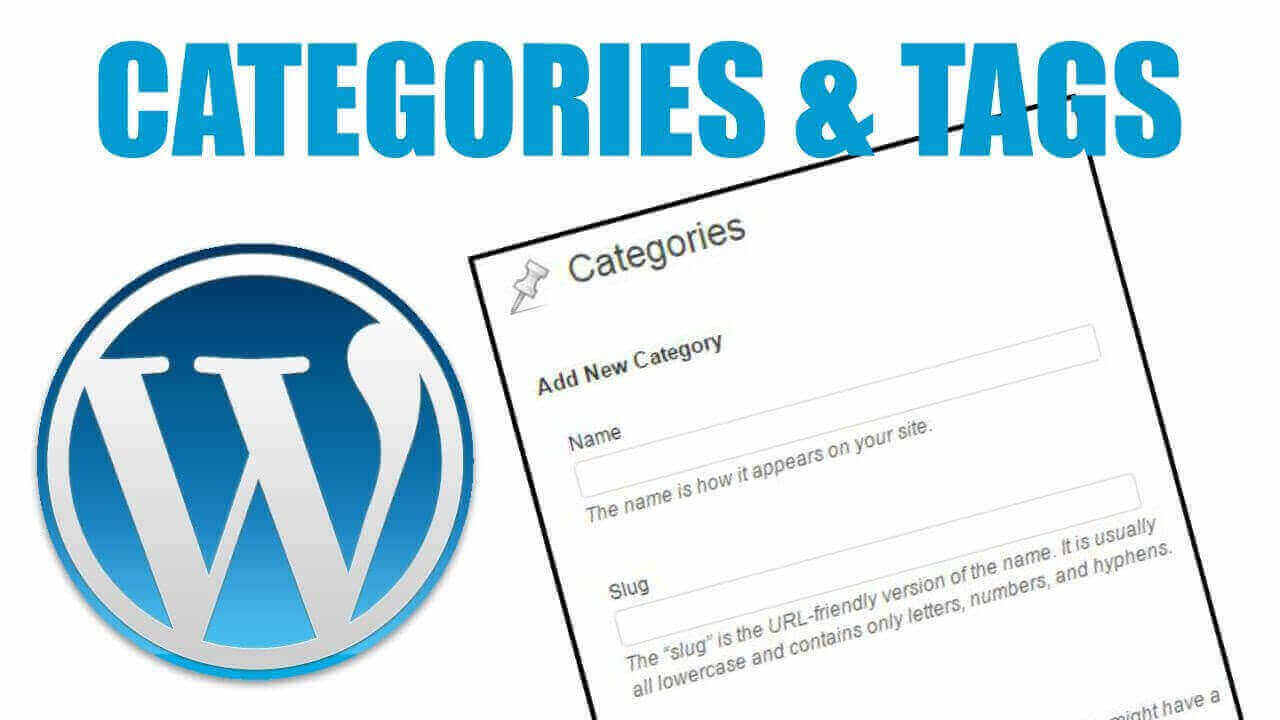
One of the crucial things for the ultimate blogging checklist—always remember to add categories and tags. Your article will be shown as Uncategorized if you don’t add any specific categories and tags. This will stop your articles from shining in the web industry. That’s why it’s recommended that you add your post to a category and add relevant tags.
Preview and Test
And the last thing to do before hitting that Publish button is to preview the post to see how it looks on your website.
One last time, click through all the links you’ve added in your article to check if everything works properly and make sure all images are good.
There you go, a few things that you need to include in your ultimate blogging checklist. Now that you know what to include, make sure you go through the above-mentioned points and create your own ultimate blogging checklist.
If you have anything to add, share, or ask, feel free to let us know through the comments section below.
Source: Shareaholic, Syed Balkhi


